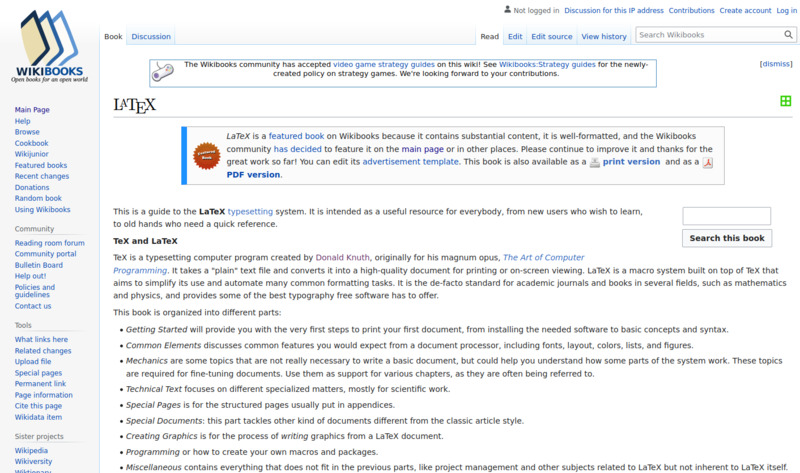
1 . What is LATEX?
Origin
- Donald Knuth, 1977–1986: typesetting system TeXτεχ → /tɛç, tɛx, tɛk/ for The Art of Computer Programming
- Leslie Lamport, from 1980s: software package LaTeX made TeX easier to use


Reasons for using LaTeX: macrotypography
This paragraph shows the effect of varied line heights in combination with varied line lengths. For this purpose, a little more text is needed to make it look like an actual paragraph. For this purpose, a little more text is needed to make it look like an actual paragraph. For this purpose, a little more text is needed to make it look like an actual paragraph. For this purpose, a little more text is needed to make it look like an actual paragraph. For this purpose, a little more text is needed to make it look like an actual paragraph. For this purpose, a little more text is needed to make it look like an actual paragraph. For this purpose, a little more text is needed to make it look like an actual paragraph. For this purpose, a little more text is needed to make it look like an actual paragraph.
☺ short & tight
This paragraph shows the effect of varied line heights in combination with varied line lengths. For this purpose, a little more text is needed to make it look like an actual paragraph. For this purpose, a little more text is needed to make it look like an actual paragraph. For this purpose, a little more text is needed to make it look like an actual paragraph. For this purpose, a little more text is needed to make it look like an actual paragraph. For this purpose, a little more text is needed to make it look like an actual paragraph. For this purpose, a little more text is needed to make it look like an actual paragraph. For this purpose, a little more text is needed to make it look like an actual paragraph. For this purpose, a little more text is needed to make it look like an actual paragraph.
☹ normal length and tight leading
This paragraph shows the effect of varied line heights in combination with varied line lengths. For this purpose, a little more text is needed to make it look like an actual paragraph. For this purpose, a little more text is needed to make it look like an actual paragraph. For this purpose, a little more text is needed to make it look like an actual paragraph. For this purpose, a little more text is needed to make it look like an actual paragraph. For this purpose, a little more text is needed to make it look like an actual paragraph. For this purpose, a little more text is needed to make it look like an actual paragraph. For this purpose, a little more text is needed to make it look like an actual paragraph. For this purpose, a little more text is needed to make it look like an actual paragraph.
☹ long lines and tight leading
This paragraph shows the effect of varied line heights in combination with varied line lengths. For this purpose, a little more text is needed to make it look like an actual paragraph. For this purpose, a little more text is needed to make it look like an actual paragraph. For this purpose, a little more text is needed to make it look like an actual paragraph. For this purpose, a little more text is needed to make it look like an actual paragraph. For this purpose, a little more text is needed to make it look like an actual paragraph. For this purpose, a little more text is needed to make it look like an actual paragraph. For this purpose, a little more text is needed to make it look like an actual paragraph. For this purpose, a little more text is needed to make it look like an actual paragraph.
☹ short & medium
This paragraph shows the effect of varied line heights in combination with varied line lengths. For this purpose, a little more text is needed to make it look like an actual paragraph. For this purpose, a little more text is needed to make it look like an actual paragraph. For this purpose, a little more text is needed to make it look like an actual paragraph. For this purpose, a little more text is needed to make it look like an actual paragraph. For this purpose, a little more text is needed to make it look like an actual paragraph. For this purpose, a little more text is needed to make it look like an actual paragraph. For this purpose, a little more text is needed to make it look like an actual paragraph. For this purpose, a little more text is needed to make it look like an actual paragraph.
☺ normal length and leading
This paragraph shows the effect of varied line heights in combination with varied line lengths. For this purpose, a little more text is needed to make it look like an actual paragraph. For this purpose, a little more text is needed to make it look like an actual paragraph. For this purpose, a little more text is needed to make it look like an actual paragraph. For this purpose, a little more text is needed to make it look like an actual paragraph. For this purpose, a little more text is needed to make it look like an actual paragraph. For this purpose, a little more text is needed to make it look like an actual paragraph. For this purpose, a little more text is needed to make it look like an actual paragraph. For this purpose, a little more text is needed to make it look like an actual paragraph.
☹ long lines and medium leading
This paragraph shows the effect of varied line heights in combination with varied line lengths. For this purpose, a little more text is needed to make it look like an actual paragraph. For this purpose, a little more text is needed to make it look like an actual paragraph. For this purpose, a little more text is needed to make it look like an actual paragraph. For this purpose, a little more text is needed to make it look like an actual paragraph. For this purpose, a little more text is needed to make it look like an actual paragraph. For this purpose, a little more text is needed to make it look like an actual paragraph. For this purpose, a little more text is needed to make it look like an actual paragraph. For this purpose, a little more text is needed to make it look like an actual paragraph.
☹ short & loose
This paragraph shows the effect of varied line heights in combination with varied line lengths. For this purpose, a little more text is needed to make it look like an actual paragraph. For this purpose, a little more text is needed to make it look like an actual paragraph. For this purpose, a little more text is needed to make it look like an actual paragraph. For this purpose, a little more text is needed to make it look like an actual paragraph. For this purpose, a little more text is needed to make it look like an actual paragraph. For this purpose, a little more text is needed to make it look like an actual paragraph. For this purpose, a little more text is needed to make it look like an actual paragraph. For this purpose, a little more text is needed to make it look like an actual paragraph.
☹ normal length and loose leading
This paragraph shows the effect of varied line heights in combination with varied line lengths. For this purpose, a little more text is needed to make it look like an actual paragraph. For this purpose, a little more text is needed to make it look like an actual paragraph. For this purpose, a little more text is needed to make it look like an actual paragraph. For this purpose, a little more text is needed to make it look like an actual paragraph. For this purpose, a little more text is needed to make it look like an actual paragraph. For this purpose, a little more text is needed to make it look like an actual paragraph. For this purpose, a little more text is needed to make it look like an actual paragraph. For this purpose, a little more text is needed to make it look like an actual paragraph.
☺ long lines and loose leading
Reasons for using LaTeX: microtypography

☹ slanted (distorted)

☺ straight

☺ italic (separate font)

☹ small font scaled up

☺ separate appropriate fonts

☹ big font scaled down
Reasons for using LaTeX: plaintext
- reliable undo
- easy versioning
- independence of proprietary software
- source code readable in the long term
- easy cooperation with other software
- no distraction by formatting or embedded media
Procedure of this workshop
Goal: you are going to build your own little
LaTeX manual based on our LaTeX script.
- learning by doing
- understanding how LaTeX works
- details can be looked up later
Outline:
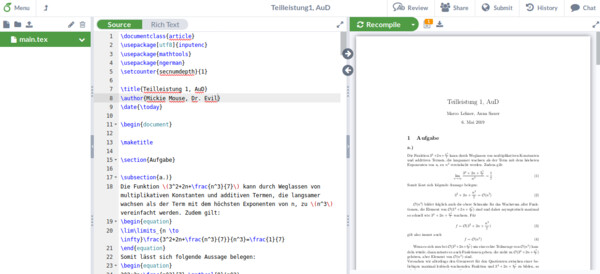
What is LaTeX?- How does LaTeX work?
- Basic structure of a LaTeX document
- Project structure
- Lots of features
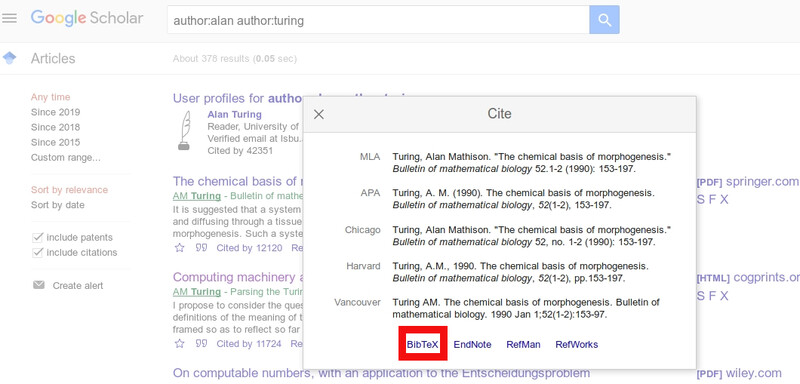
- Reference management
- Outlook